How to Use a Water Flosser: Before or After Brushing, Technique and Common Mistakes
Quick answer: Use a water flosser before brushing as a practical default: Waterpik’s professional guidance recommends that order, so brushing can follow the removal of loosened food and debris. Its consumer guide also says either order is acceptable. A 2026 trial found some plaque differences when people used string floss before brushing, but it did not test water flossers, so it cannot prove that one Waterpik sequence is better. If using the device after brushing is what helps you clean between teeth consistently, keep the routine that works and follow your dentist’s advice. Start with the lowest comfortable pressure, keep the tip in your mouth before turning the unit on, and guide it along the gumline and between teeth.
Water flossers are one option for cleaning between teeth. The American Dental Association notes that water flossers with the ADA Seal of Acceptance have been tested for safety and effectiveness at removing plaque; those products can also help reduce gingivitis. The ADA also says people with braces or fixed bridges may find a water flosser useful. That does not mean every device suits every person or replaces brushing and regular dental care. ADA MouthHealthy: Water Flossers · ADA: Interdental Cleaners.
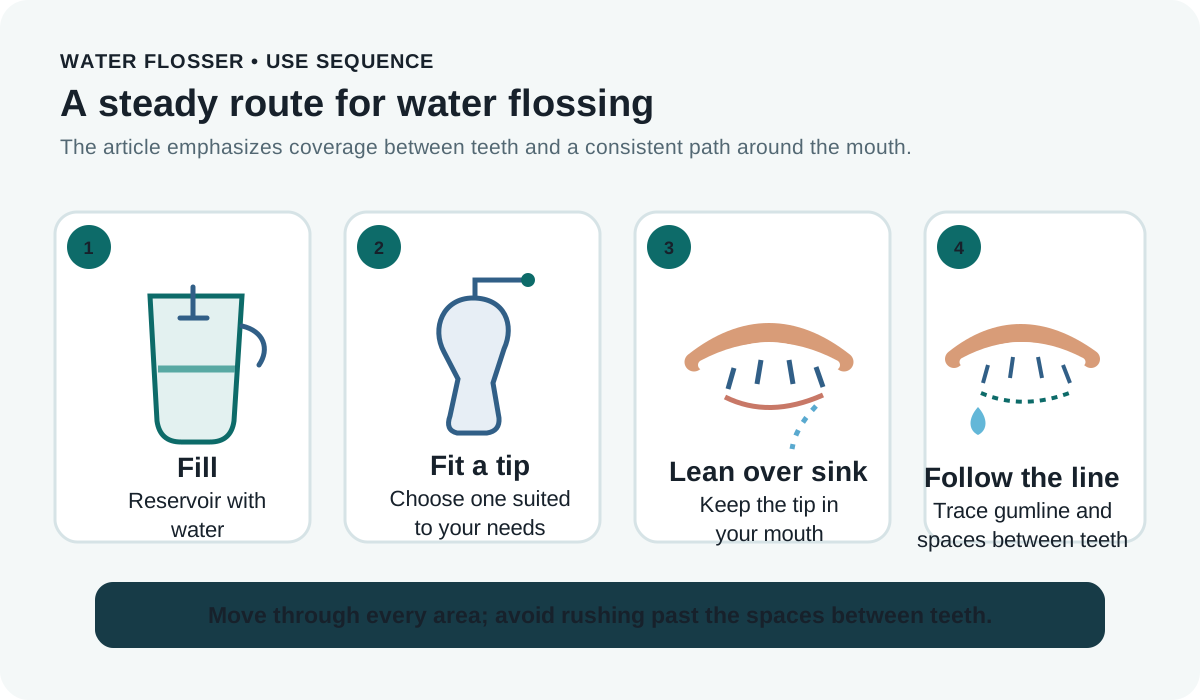
How to use a water flosser: a six-step routine
- Prepare the device. Fill the reservoir with clean, lukewarm water and seat it firmly. If the device is new or has been emptied, prime it only as its manual instructs.
- Choose a suitable tip. Use a standard tip for routine cleaning unless your clinician recommends another attachment. Tips designed for braces or periodontal care are device-specific; use them as directed. See our water-flosser tip guide for replacement and tip questions.
- Start gently. Set pressure to the lowest setting, especially when you are learning or have sensitive gums. You can increase it gradually only while it remains comfortable. More pressure is not a substitute for good aim.
- Lean over the sink. Put the tip in your mouth before turning the unit on. Close your lips enough to limit splashing while leaving a gap for water to drain into the sink. Keep your face angled down.
- Follow a repeatable route. Begin near the back teeth. Aim along the gumline and pause briefly between teeth. Work around the outside and inside surfaces of the upper and lower teeth, moving tooth by tooth so you do not skip areas. Keep the stream comfortable; do not force the tip into the gum tissue.
- Finish and store it cleanly. Turn the unit off before removing the tip. Empty leftover water and clean or air-dry the reservoir and tip as the manufacturer directs. If your manual permits a non-water solution, flush the device afterward as instructed.
Waterpik’s consumer instructions recommend about one minute for a full-mouth session on its devices; other models may differ. Follow the timing and setup guidance supplied with your flosser. The sequence guide above is a quick visual; your own manual takes precedence for priming and attachments. Waterpik Canada’s step-by-step instructions.
Brushing first or water flossing first?
Waterpik’s professional FAQ recommends using its water flosser before brushing, while a separate Waterpik consumer FAQ says the choice is yours. The difference is a difference in manufacturer guidance—not evidence that the company has demonstrated one sequence is clinically superior. Before brushing is a practical choice because it lets brushing follow the interdental-cleaning step. If using the device afterward helps you stick with daily cleaning, the manufacturer’s consumer guidance allows that too.
Be precise about the research often cited in this debate. A 2026 randomized trial compared string floss before versus after brushing in 56 college students. It found greater plaque reductions in some front-tooth measurements for floss-before-brush, but not in other measured regions. It did not study a water flosser. That result may be relevant background, but it does not answer which order is best for Waterpik use. Read the study record on PubMed.
Braces, implants and bridges
A water flosser may make it easier to direct water around brackets and fixed dental work. With braces, clean along the gumline and around each bracket, including the areas above and below the wire; do not rush across the front alone. The Waterpik braces guide describes a low-pressure start and a tooth-by-tooth route. For implants, bridges or crowns, use an attachment only if it is intended for your model and your dentist recommends it. Do not assume a water flosser replaces any threader, interdental brush or other tool your clinician prescribed. Waterpik’s braces instructions.
Common water-flosser mistakes
- Starting at high pressure. Begin low and adjust only to a comfortable level. Stop if the stream causes pain.
- Turning it on outside your mouth. Place the tip first, then switch on while leaning toward the sink.
- Moving too quickly. Cover every tooth surface and pause at each space instead of sweeping over the front teeth only.
- Forgetting the inside surfaces. Follow the gumline around both the cheek-facing and tongue-facing sides.
- Forcing a specialized tip or aiming into sore tissue. Use attachments only as designed and according to professional advice.
- Leaving standing water or residue. Empty and maintain the reservoir, handle and tip as your model’s manual specifies.
- Expecting it to replace brushing. The ADA recommends brushing twice a day for two minutes as well as cleaning between teeth daily.
Cleaning and replacing tips
Empty the reservoir after use. Follow the manual for washing, descaling and drying the unit; cleaning intervals and approved solutions differ by model. Do not add mouthwash, essential oils or medicated rinses unless the manufacturer allows it and your dental professional says it is appropriate. If you do use an approved solution, flush the unit if the instructions require it. Tip replacement timing also varies by attachment and device. See the replacement-tip guide; for a leak, weak stream or power problem, use the separate water-flosser troubleshooting guide.
Does a water flosser replace string floss?
A water flosser is an interdental cleaner, but it is not the right substitute for every mouth or every dental plan. The ADA says the choice of interdental cleaner should take account of the person’s teeth and spaces. If you have tight contacts, gum disease, implants, braces or dexterity challenges, ask your dentist or hygienist which combination works for you. Compare the methods in our separate water flosser versus string floss guide. A water flosser also does not replace brushing or regular dental visits.
Frequently asked questions
Should I use a water flosser before or after brushing?
Before brushing is a practical default and matches Waterpik’s professional FAQ. Its consumer guide says either order is acceptable. Direct evidence comparing the two orders for water flossers was not identified; consistency and your dental team’s guidance matter.
How often should I use a water flosser?
The ADA recommends cleaning between teeth daily. Follow the directions for your device and ask your dental professional whether your needs call for a different routine.
How long should a session take?
Waterpik recommends about one minute for its devices, but timing varies by model and the areas that need attention. Check your manual and make sure you cover each tooth rather than rushing to meet a timer.
Can I use mouthwash or a medicated rinse in the reservoir?
Only if the manufacturer’s instructions allow it and your dental professional recommends it. Some devices require flushing with plain water afterward. Never put a solution in the reservoir based only on advice for a different model.
Is a water flosser safe with braces or implants?
Water flossers can help clean around braces and fixed bridges. For implants or other dental work, confirm the appropriate tip and technique with your dentist, especially after surgery or during periodontal treatment.
Sources
- Waterpik Canada, dental-professional FAQ (manufacturer sequence and pressure guidance).
- Waterpik UK, how-to guide (consumer sequence and technique guidance).
- American Dental Association, MouthHealthy: Water Flossers.
- American Dental Association: Dental Floss and Interdental Cleaners.
- Ma Y-F et al. Impact of brushing-flossing sequence on plaque removal: a single-blind, randomized controlled trial. BMC Oral Health. 2026;26:565. doi:10.1186/s12903-026-07984-6. This trial tested string floss order, not water flossers.